How to Prepare Your Home for a New Elevator Installation
Adding a home elevator is an exciting way to boost accessibility, safety, and value in your home. Whether you are planning for aging in place, helping a family member with mobility needs, or simply enhancing comfort and convenience, a new elevator installation can transform your daily life. But before installation begins, there are important steps to take to ensure your project goes smoothly.
Here’s a step-by-step guide to preparing your home for a new elevator installation, including practical tips, what to expect, and when to rely on professional Installations, Maintenance, Repairs & Service, and Modernizations support.
1. Assess Your Needs and Goals
Start by considering who will use the elevator and what features matter most for your household. Think about:
- The number of floors you want to serve
- Weight capacity and cab size for wheelchairs, walkers, or multiple passengers
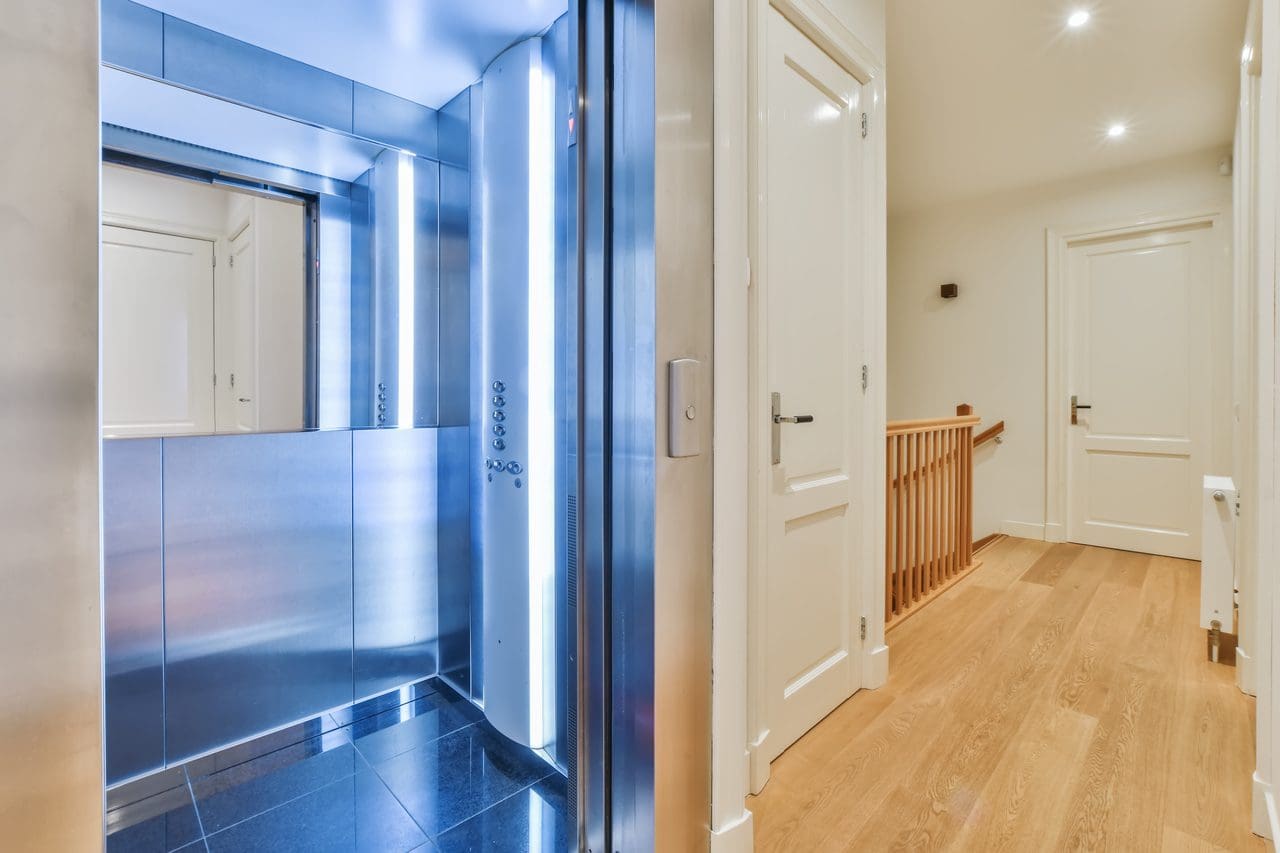
- Preferred elevator type, style, and finishes
- Any special needs, such as low-noise operation or outdoor weatherproofing
A professional consultation will help you clarify your goals and choose the best elevator for your home.
2. Evaluate Your Home’s Layout
Not every elevator is suitable for every home, so work with your installer to review your home’s:
- Floor plan and square footage
- Available wall space or areas for a shaft or hoistway
- Proximity to electrical panels and mechanical rooms
- Ceiling height and floor-to-floor measurements
If you’re building a new home, planning for the elevator from the start is ideal. For retrofits, a careful site assessment ensures that installation is safe, efficient, and code-compliant.
3. Plan for Construction
Most residential elevator installations require some construction. This may include:
- Building a shaft or hoistway (the vertical enclosure where the elevator travels)
- Creating or reinforcing a concrete pit at the base of the shaft
- Making room for a machine room if required by your elevator type
- Adjusting framing, walls, or doors around the elevator entrances
Clear the work area of furniture, artwork, and valuables. Prepare for some dust and noise during construction, and discuss the project timeline with your installer.
4. Get the Right Permits and Approvals
Residential elevators are subject to local building codes and permitting requirements. Your installation company should:
- Obtain all necessary permits from city or county authorities
- Ensure your elevator complies with state and federal safety codes
- Coordinate inspections before, during, and after installation
Following the rules ensures your elevator is safe, legal, and insurable. Ask your installer for copies of permits and approvals for your records.
5. Prepare Your Family and Living Spaces
Let family members, housemates, or tenants know about the project schedule and what to expect. You may need to:
- Plan for temporary disruptions to traffic flow or access to certain rooms
- Move pets or young children away from construction zones for safety
- Protect floors and walls near the installation area with drop cloths or barriers
A clear communication plan keeps everyone on the same page and reduces stress during installation.
6. Schedule Utilities and Pre-Installation Tasks
Check with your installer about preparing utilities:
- Arrange for electrical upgrades or dedicated circuits if required
- Confirm access to water lines or drains for specific elevator models (if needed)
- Ensure internet or phone lines are available for smart features or emergency communication
Complete any necessary pre-installation tasks your installer recommends.
7. Work With Trusted Professionals
Choosing a qualified installer is key to a safe and reliable elevator. Our Installations team manages every step, from site assessment to the final inspection. We also offer routine Maintenance plans to keep your elevator running smoothly for years.
If your home already has an older lift, consider Modernizations to upgrade safety features, controls, or style before your new installation. Our Repairs & Service team is ready to address any concerns you may have along the way.
8. What to Expect on Installation Day
- Crews will arrive with equipment and materials
- Construction and installation will begin according to the project plan
- Safety barriers or signs will be placed around the work area
- The elevator will be assembled, wired, and tested for performance and safety
Installation time can vary from a few days to several weeks, depending on complexity. Your installer will keep you updated throughout the process.
9. Final Inspections and Training
Before you use your new elevator, it will undergo a final inspection to ensure code compliance and safe operation. Your installer will:
- Demonstrate how to use the elevator and all safety features
- Provide owner’s manuals and emergency contact information
- Review your maintenance schedule and answer questions
10. Enjoy Your New Elevator With Peace of Mind
With proper preparation and professional support, your new elevator will add comfort, safety, and value to your home for many years. Schedule ongoing Maintenance to catch issues early and keep your investment in top condition.
Need Help Preparing for Elevator Installation?
If you are planning a home elevator project in Bluffton, Beaufort, Savannah, Hilton Head, Charleston, or anywhere in the region, contact Elevator Lift Systems, Inc. Our experienced team will guide you through every step, from initial planning and installation to Repairs & Service, Maintenance, and Modernizations.Request your free consultation today and make your elevator installation as smooth and stress-free as possible.